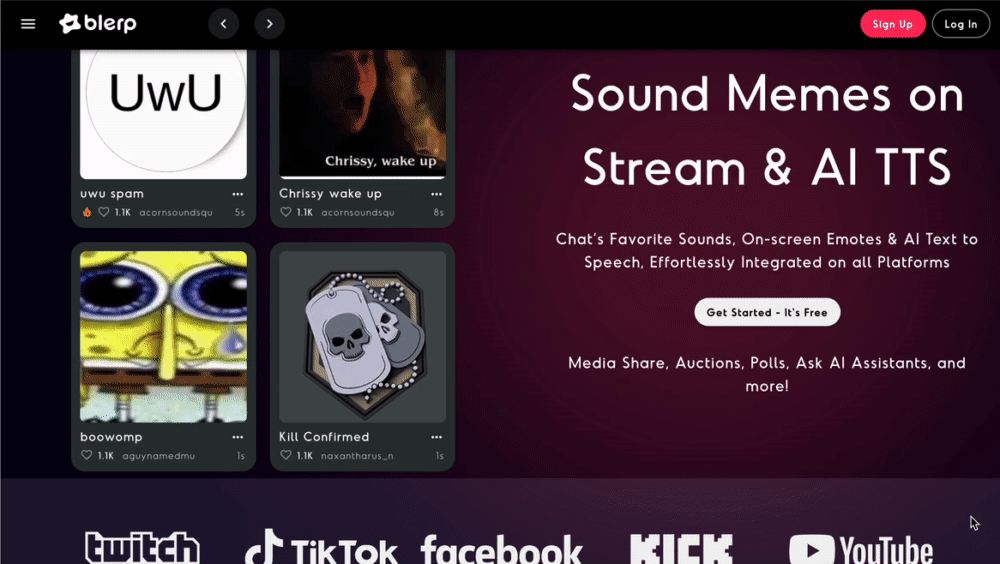
Looking for a way to make your Facebook live streams more interactive? With Blerp’s media share feature, your viewers can submit their favorite clips and media directly to your stream, creating a fun and engaging experience for everyone.
In this guide, we’ll walk you through the simple steps of adding Media Share to your Facebook stream using Blerp.
Step 1: Create Your Blerp Account
To get started, you’ll need to create a Blerp account:
- Visit Blerp and sign up using your email or preferred method.
Once signed up, you’ll be ready to set up Media Share for your streams!
Step 2: Add the Blerp Browser Source to OBS
To display media share submissions on your Facebook stream, you’ll need to add the Blerp browser source to your streaming software.
- Open OBS (or your preferred software).
- In the Sources section, click the "+" icon and select Browser.
- Paste the browser source URL provided by Blerp into the settings.
Need more guidance? Check out our How to Add Blerp to OBS guide for a step-by-step walkthrough.
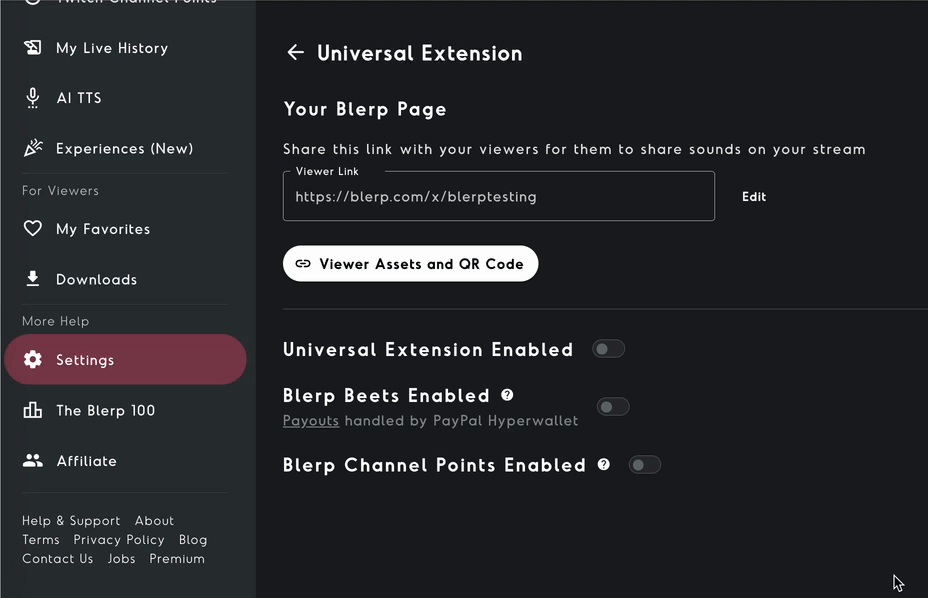
Step 3: Enable the Blerp Universal Extension
Before configuring your media share settings, you need to enable the Blerp Universal Extension to connect your viewers with the media share feature.
- Enable the Extension: Go to Settings and select Universal Extension. From there, make sure the extension is enabled.
Follow our detailed guide How to Add the Blerp Universal Extension to Your Stream for step-by-step instructions.
Step 4: Configure Media Share Settings
Customize how viewers interact with media share to fit your stream’s vibe. Head to Settings > Media Share and adjust options like:
- Price Settings:
- Price Amount Per Second: Set the cost for each second of media played.
- Price Min Amount to Share: Determine the minimum price required for a viewer to submit media.
- Max Time Duration of Media: Set a time limit on how long each piece of media can play.
- Spam Security: Blerp offers a customizable spam security slider that filters shared media based on popularity. This helps ensure that only high-quality, legitimate content is submitted to your stream. You can adjust the security level from Off to Very High, depending on your preference.
- Off: No security filtering (all media is allowed).
- Low: Content must have 5k+ views (YouTube/Twitch) or 10 likes/3 comments (TikTok/Instagram/X).
- Medium: Content must have 40k+ views (YouTube/Twitch) or 250 likes/30 comments (TikTok/Instagram/X).
- High: Content must have 300k+ views (YouTube/Twitch) or 1000 likes/100 comments (TikTok/Instagram/X).
- Very High: Content must have 900k+ views (YouTube/Twitch) or 10,000 likes/300 comments (TikTok/Instagram/X).
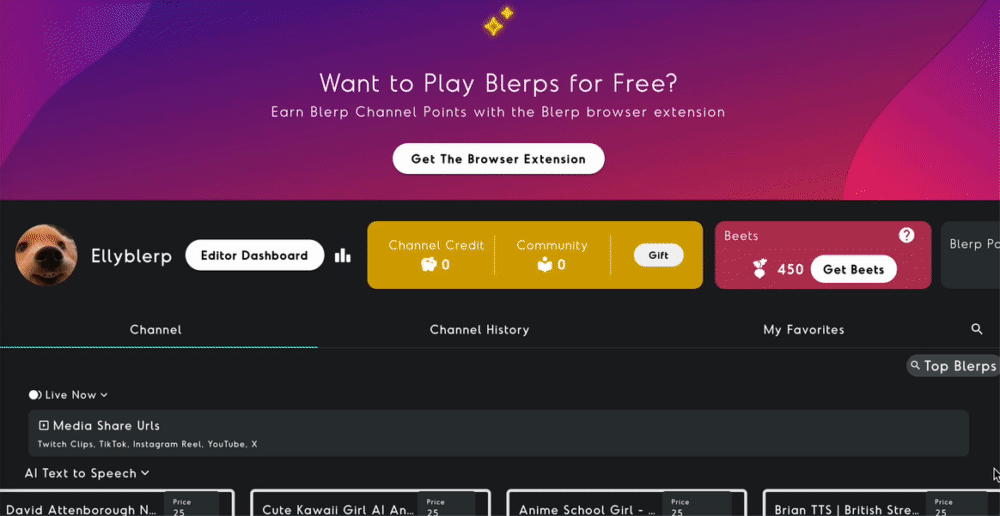
Step 5: Share Blerp With Your Viewers
To allow your viewers to interact with the media share feature, you need to share your viewer link with them. This link connects them to the web extension, where they can submit media to your stream.
- Find Your Viewer Link: You can find your viewer link either from My Dashboard or by navigating to Settings > Universal Extension.
- Share Your Viewer Link: Use a timed chat bot to automatically share your viewer link with your community during your stream.
- Encourage Viewer Interaction: Remind your viewers that they can use the link to share sounds, videos, and other media directly on your stream.
Step 6: How Viewers Can Share Sounds
Once your viewers have access to your viewer link, they can easily interact with your stream by following these steps:
- Visit Your Viewer Link: Viewers can visit your viewer link to redeem sounds, videos, or other media that you’ve set up for sharing. This link is essential for allowing them to submit content to your stream.
- Install the Blerp Web Browser Extension: Viewers can install the Blerp browser extension to interact with the media share feature.
Ready to level up your Facebook streams? Get started with Blerp today!