If you’re looking to add some flair to your Blerp integration on your stream channel, creating a custom Blerp panel is a fun and creative way to advertise it. With Canva, you can design a panel that fits your brand perfectly, all while keeping things simple and stylish. Let’s dive into how you can design your own custom Blerp panel to enhance your Twitch channel!
Step 1: Start with the Right Canvas Size
First, you’ll want to create a canvas with dimensions that fit the Twitch panel size. Twitch panels are locked to a width of 320px, but you can adjust the height to suit your needs. A good starting point for the height is 520px, which gives you ample space to work with.
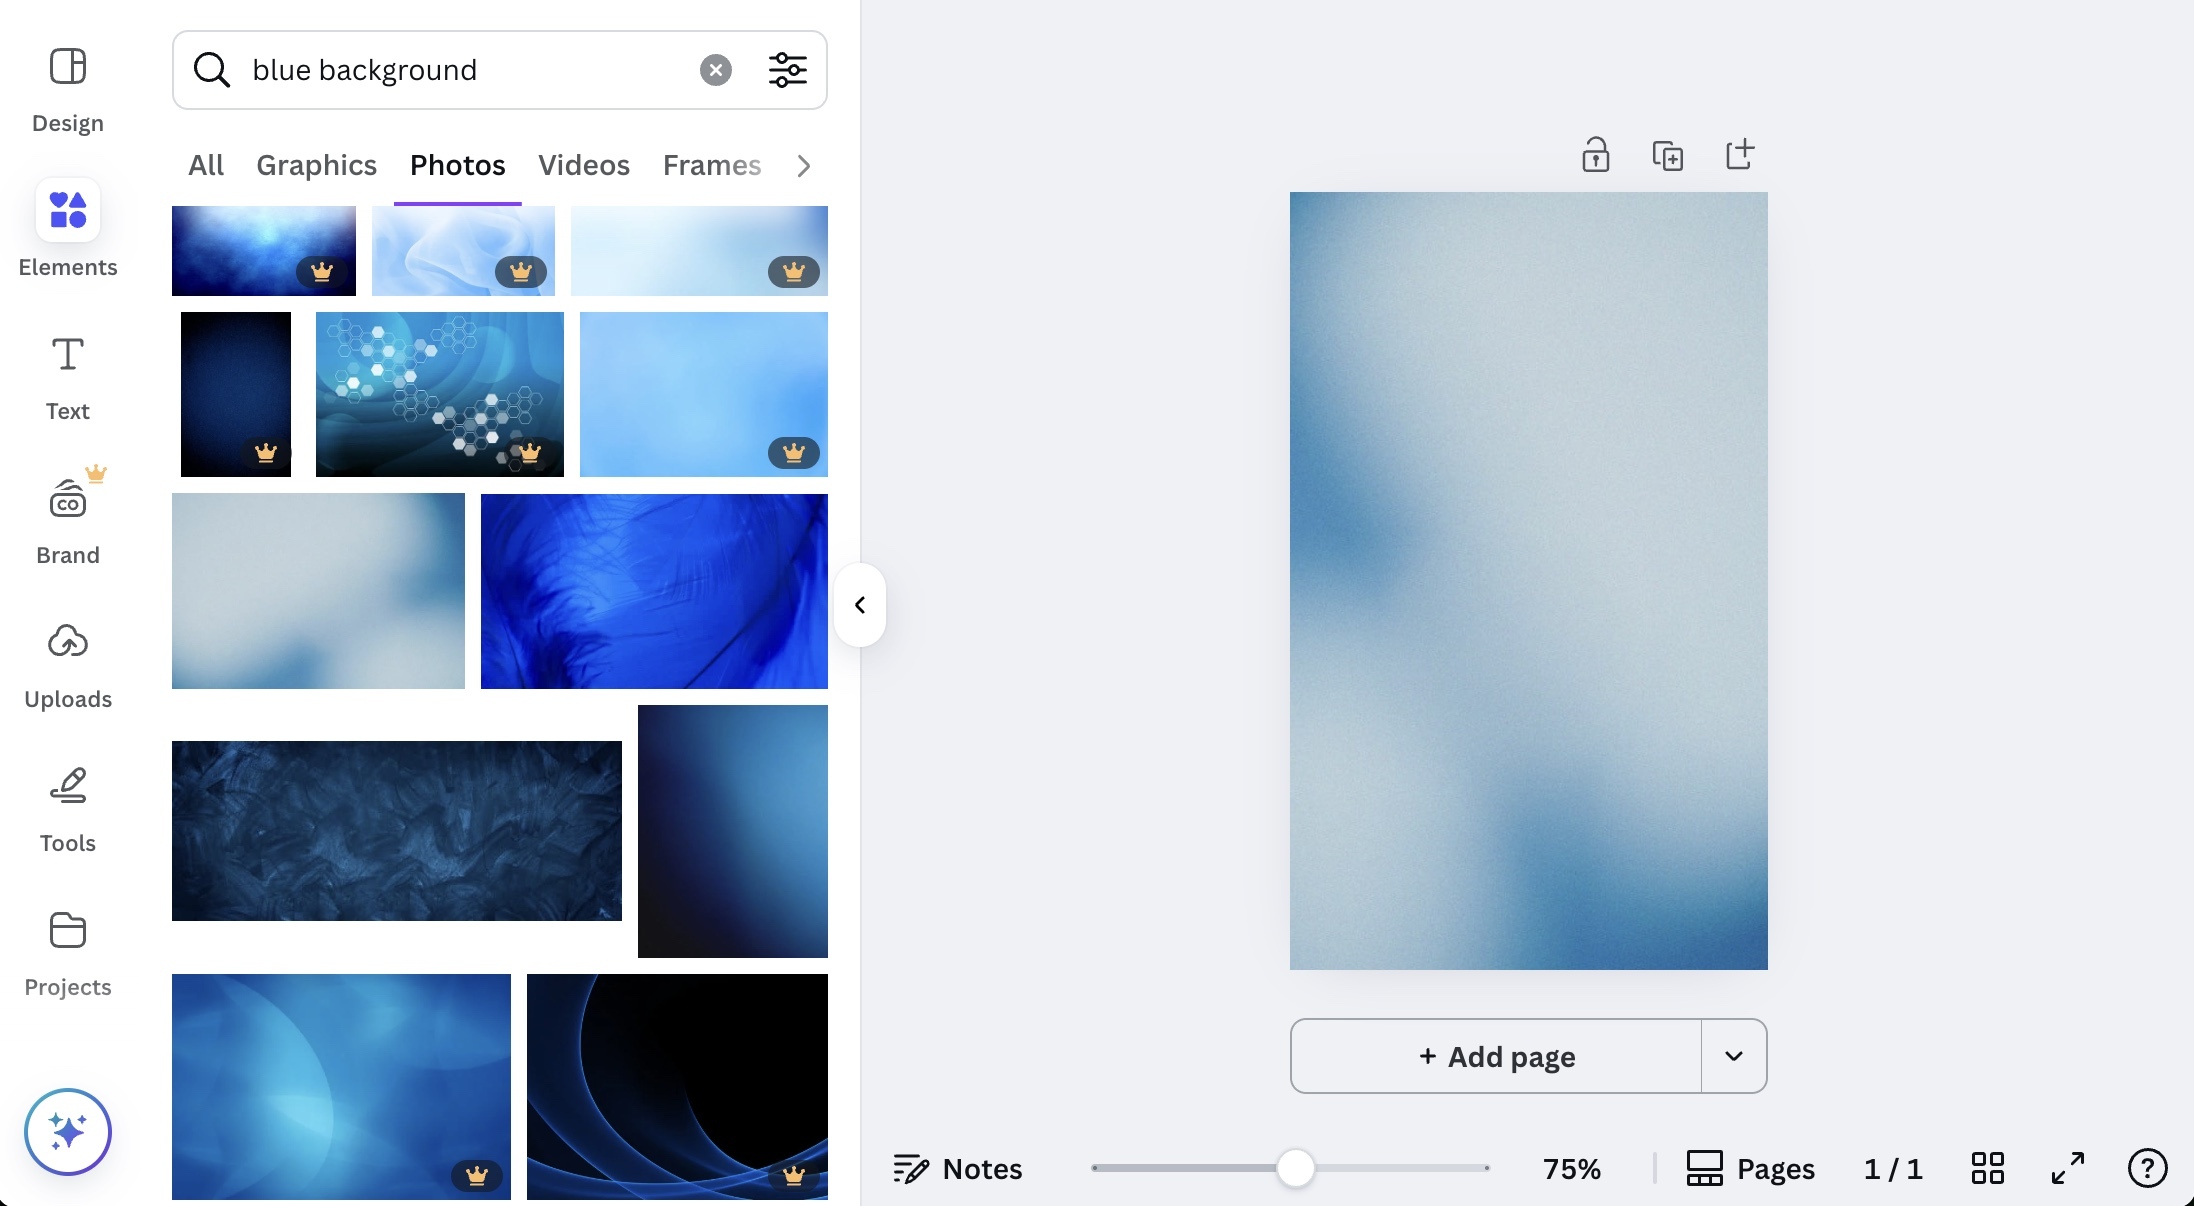
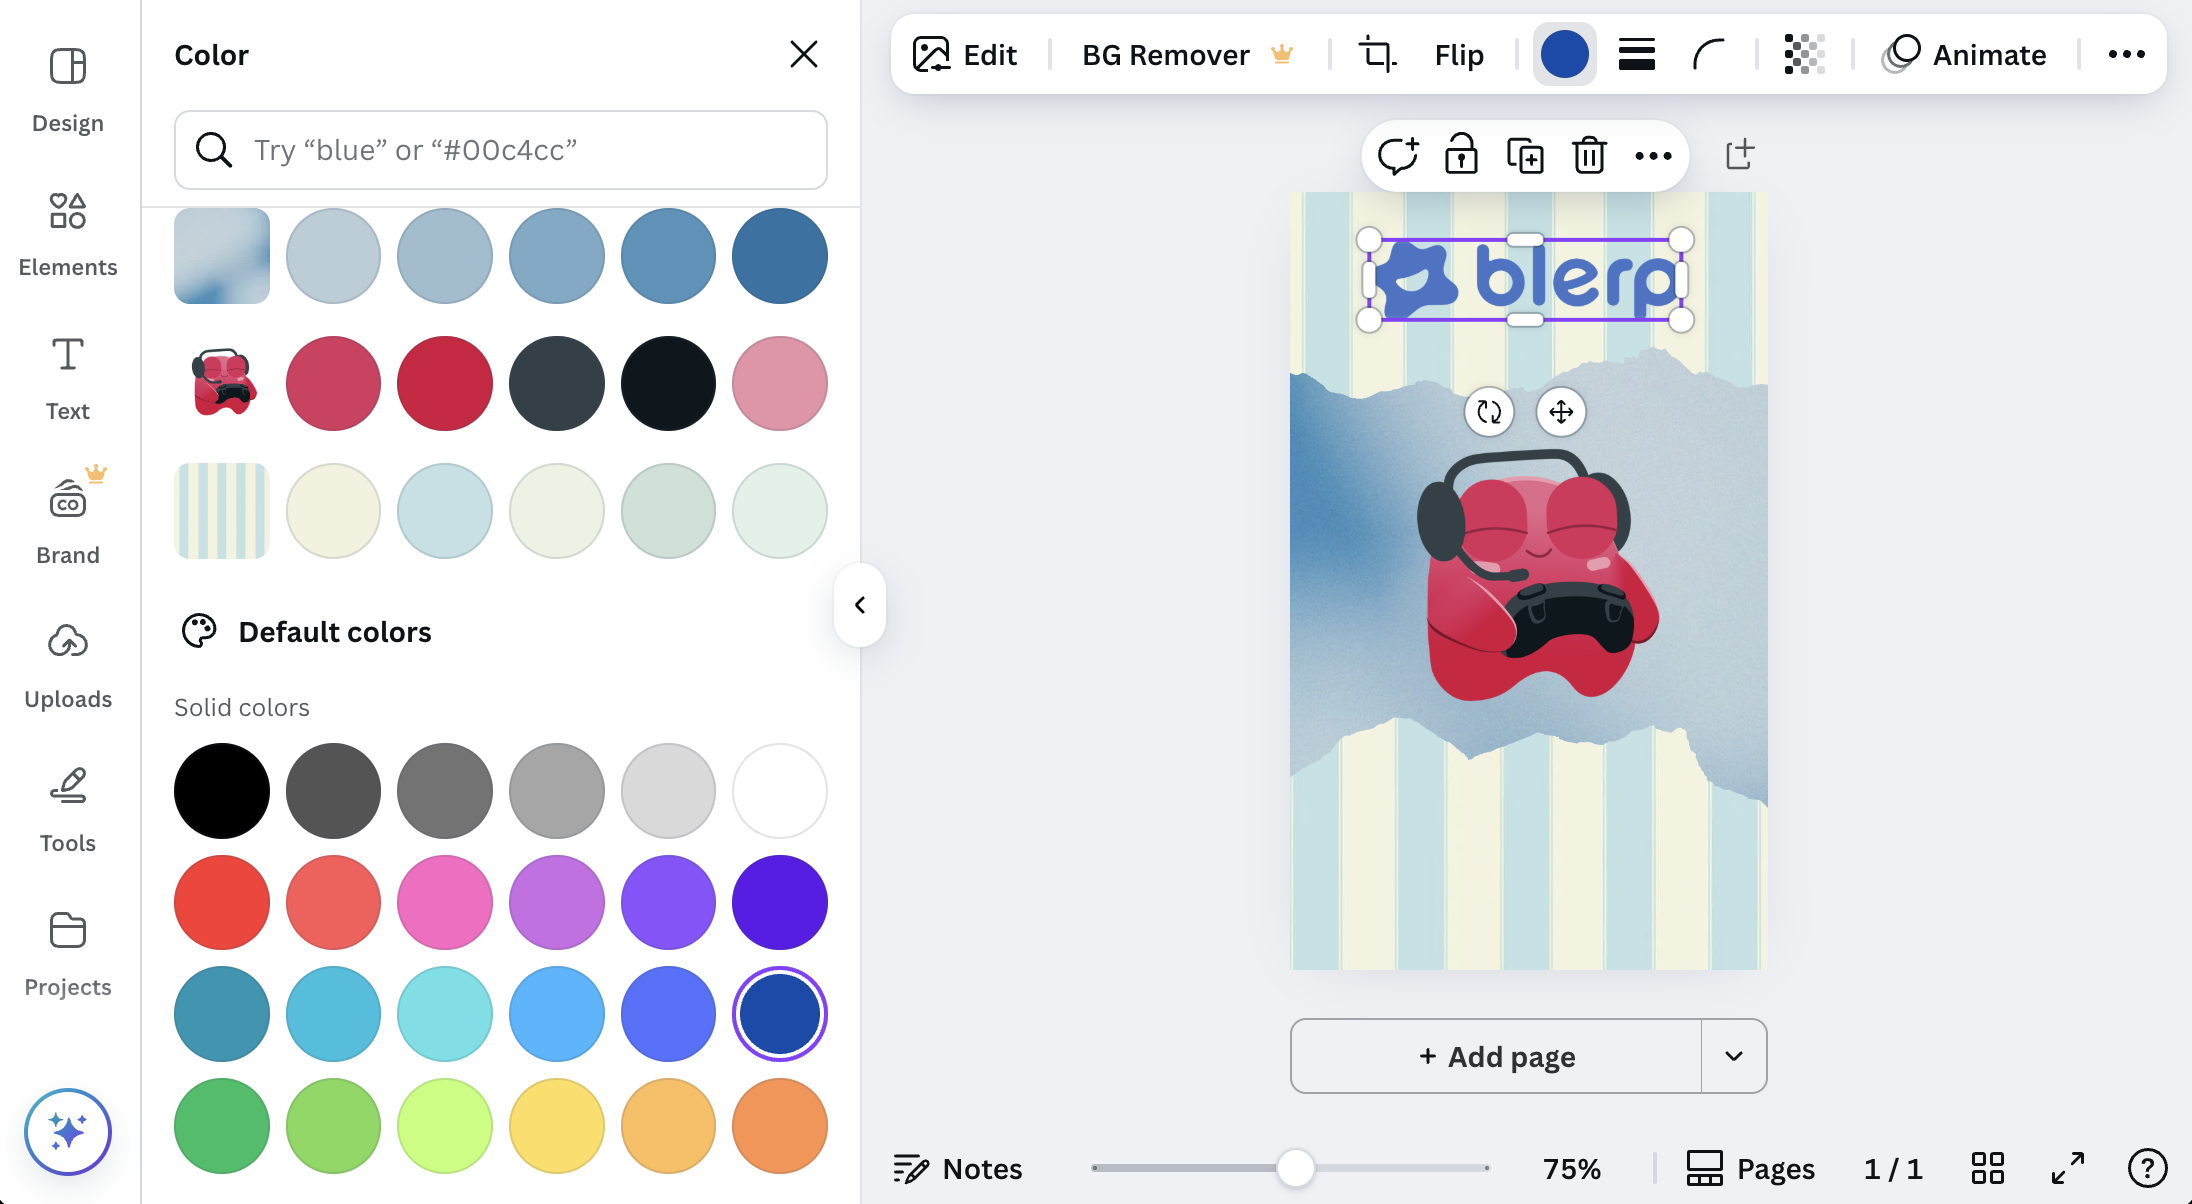
Step 2: Pick Your Background
With your canvas open, it’s time to choose a background that reflects your stream’s style. You can opt for a solid color, gradient, or even a custom image. It’s important to pick something that won't distract from the main content but still adds personality to the panel.
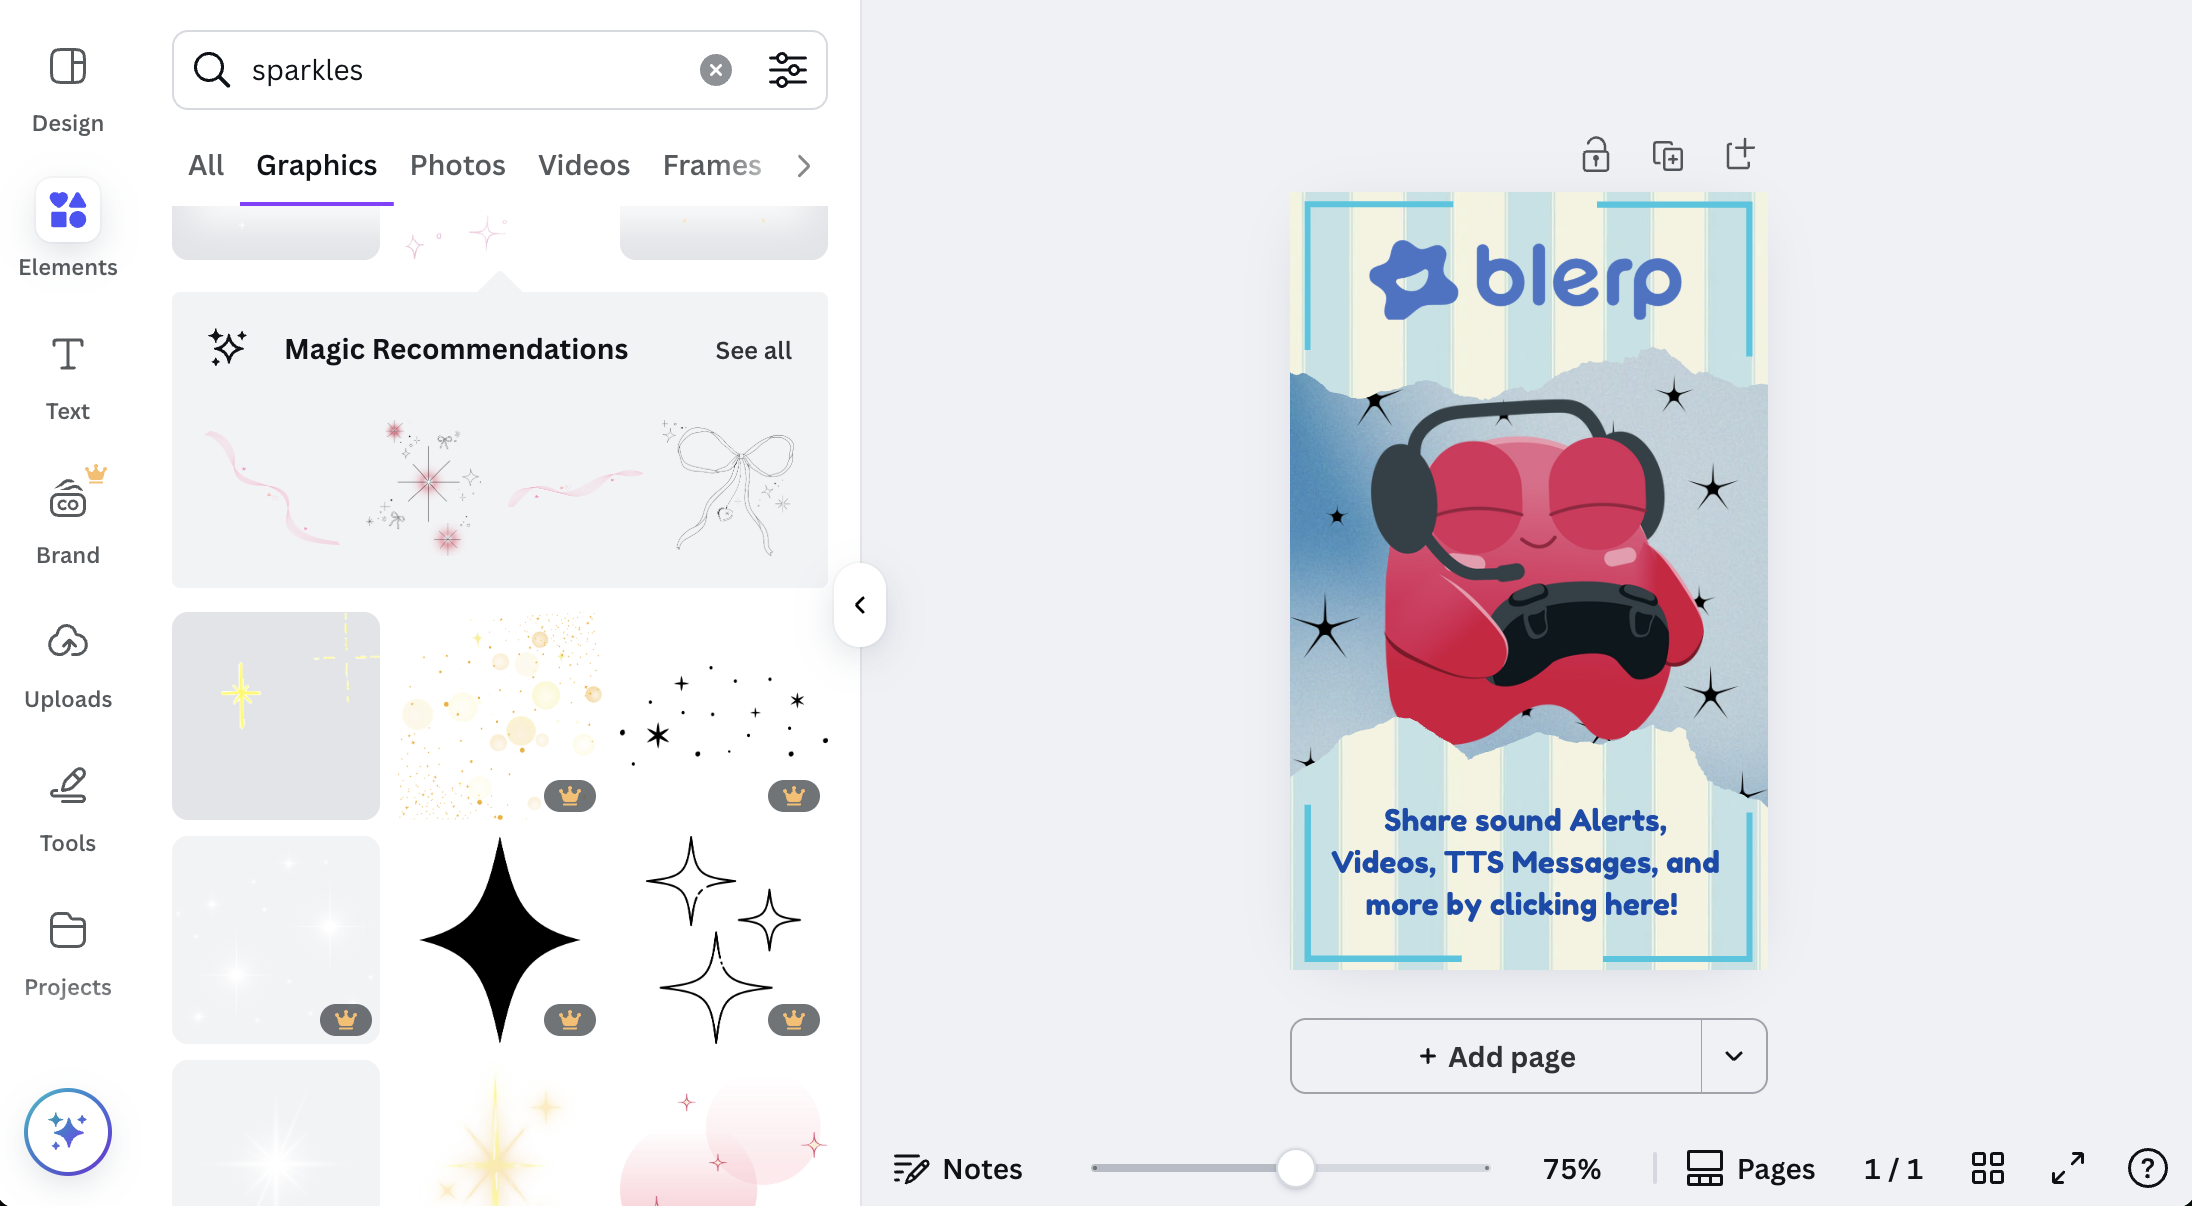
Here’s an example:
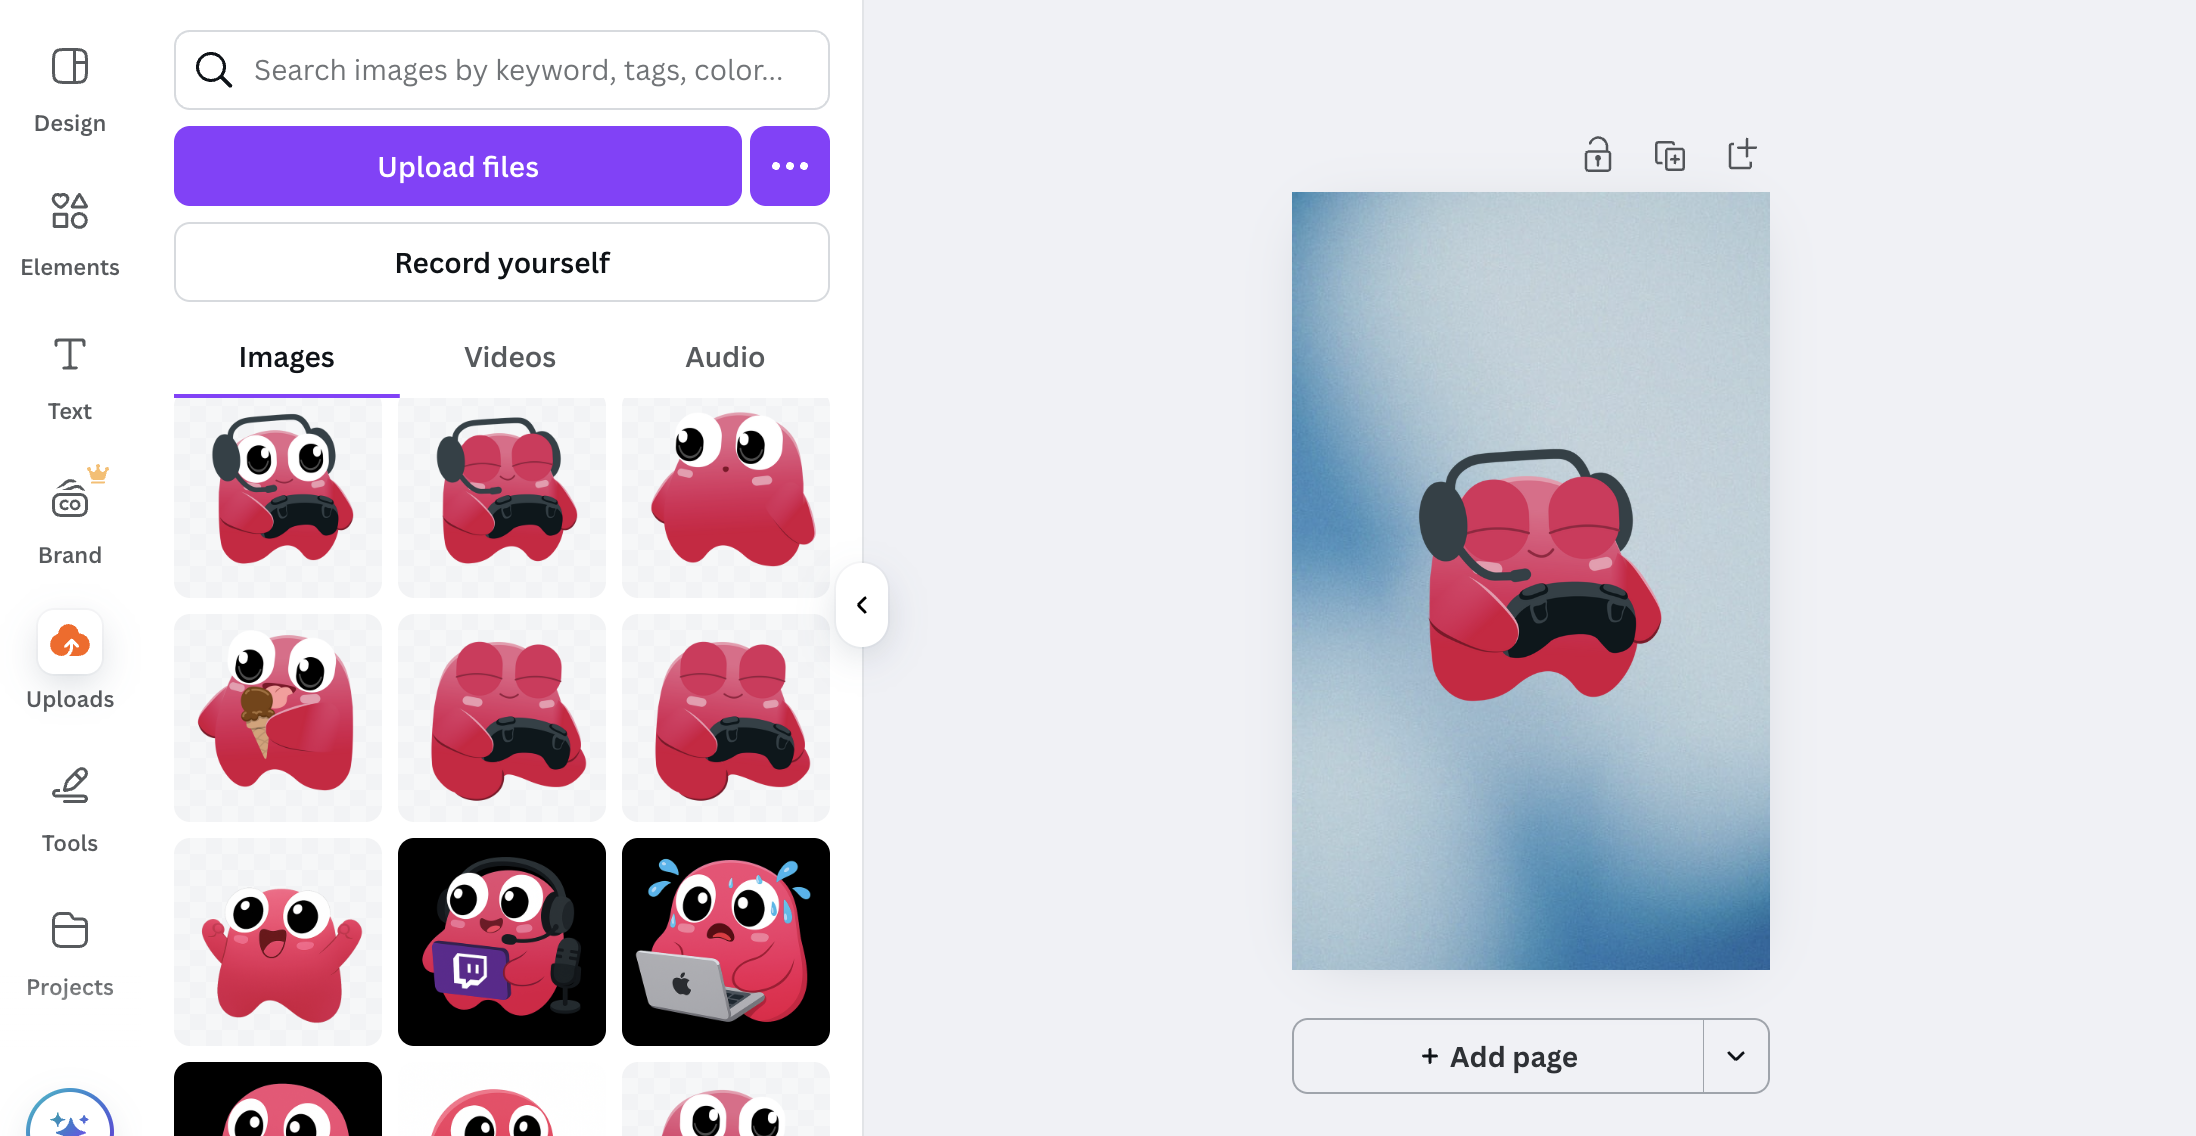
Step 3: Add Your Center Focus
Next, add a central image that represents your stream’s brand, this could be your logo, a VTuber model, or anything that connects with your stream’s vibe. You’ll want this to be prominent and eye-catching.
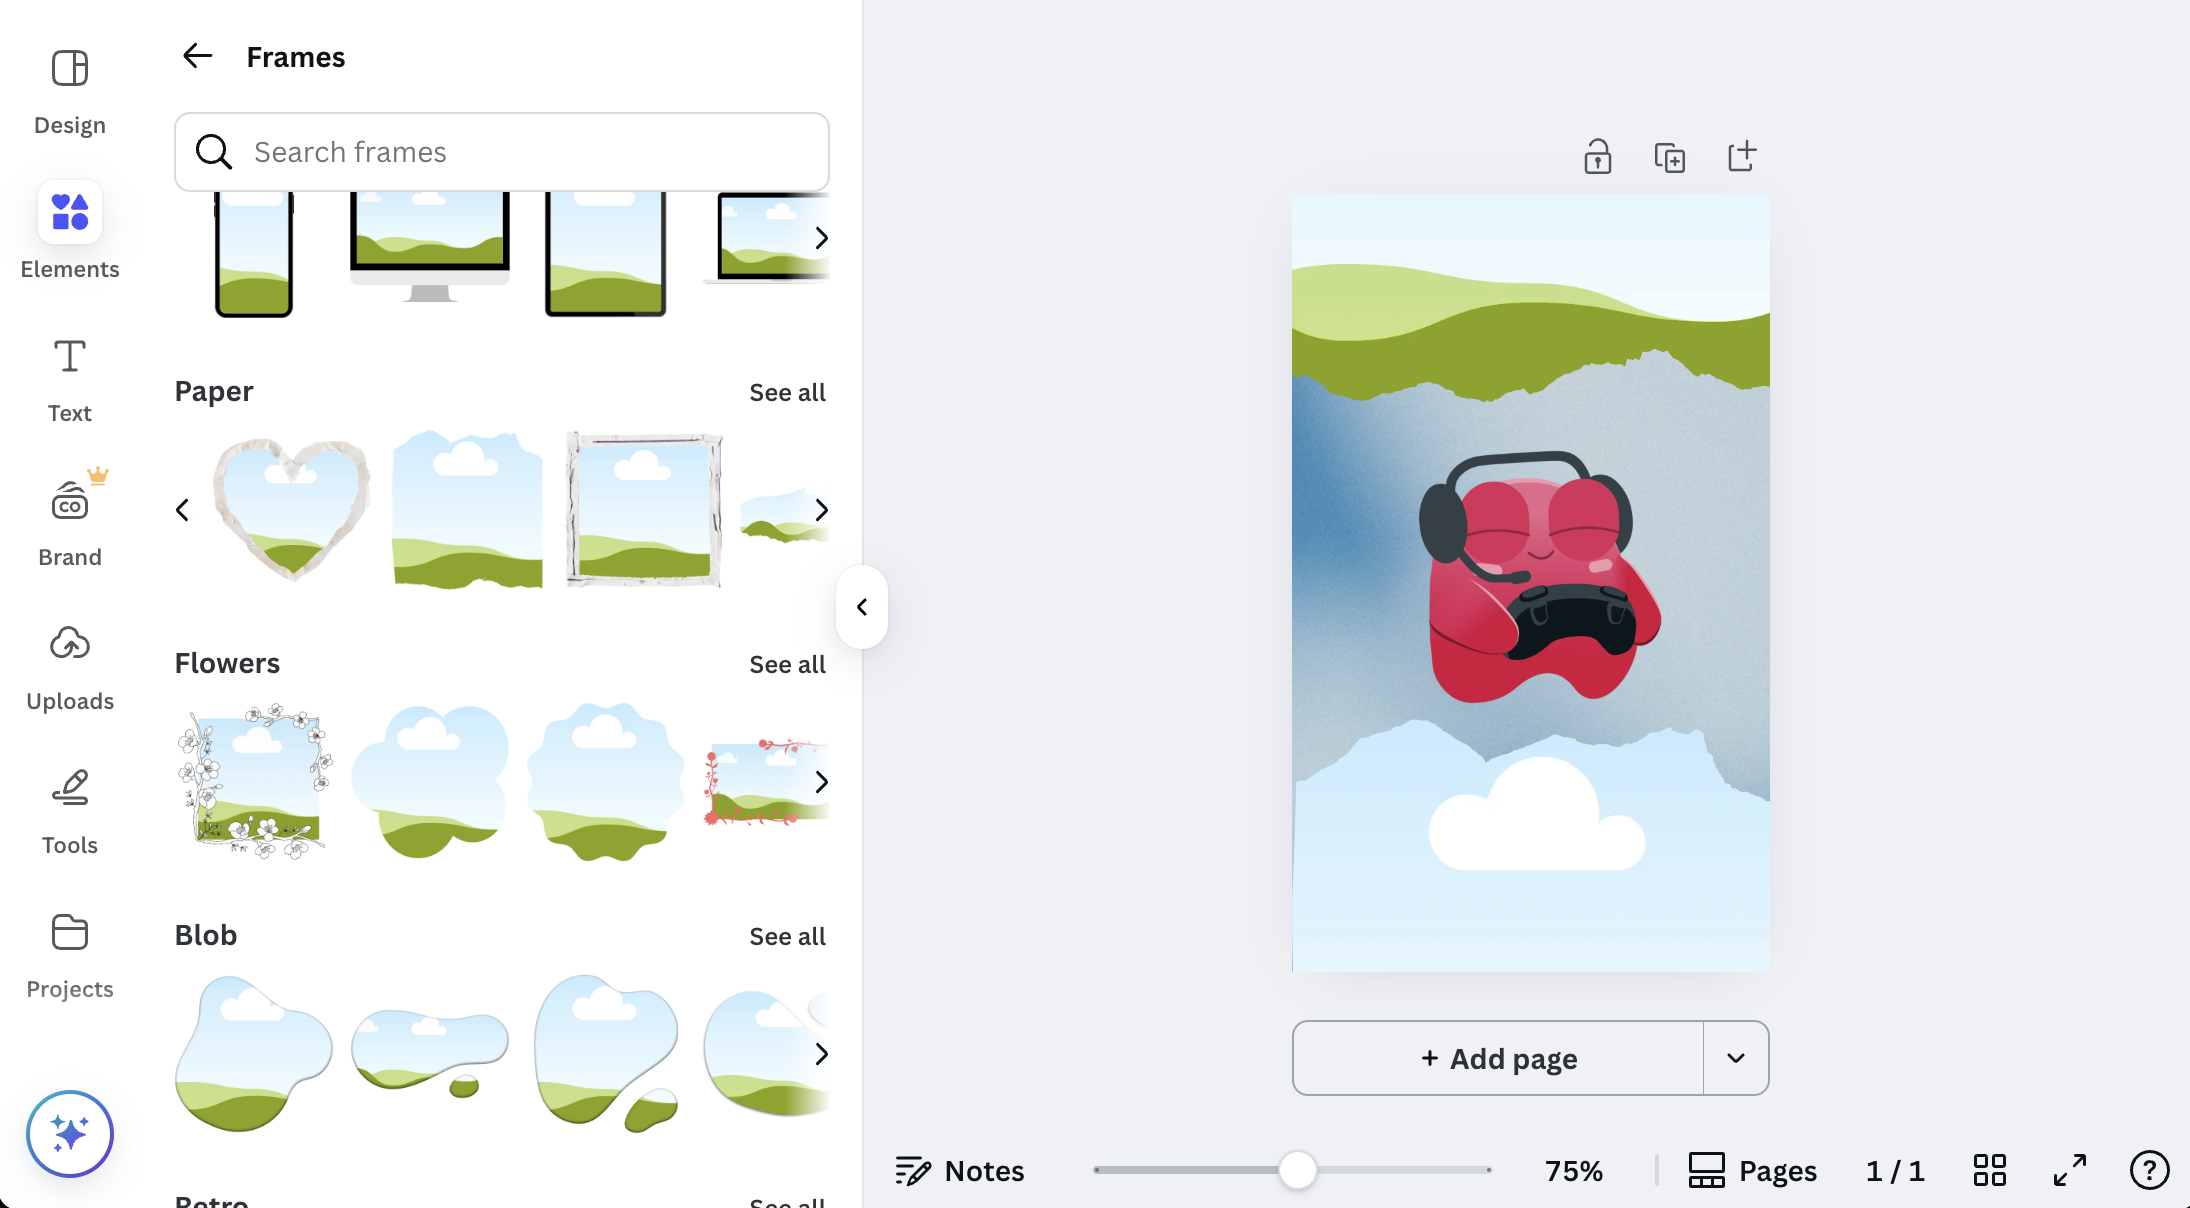
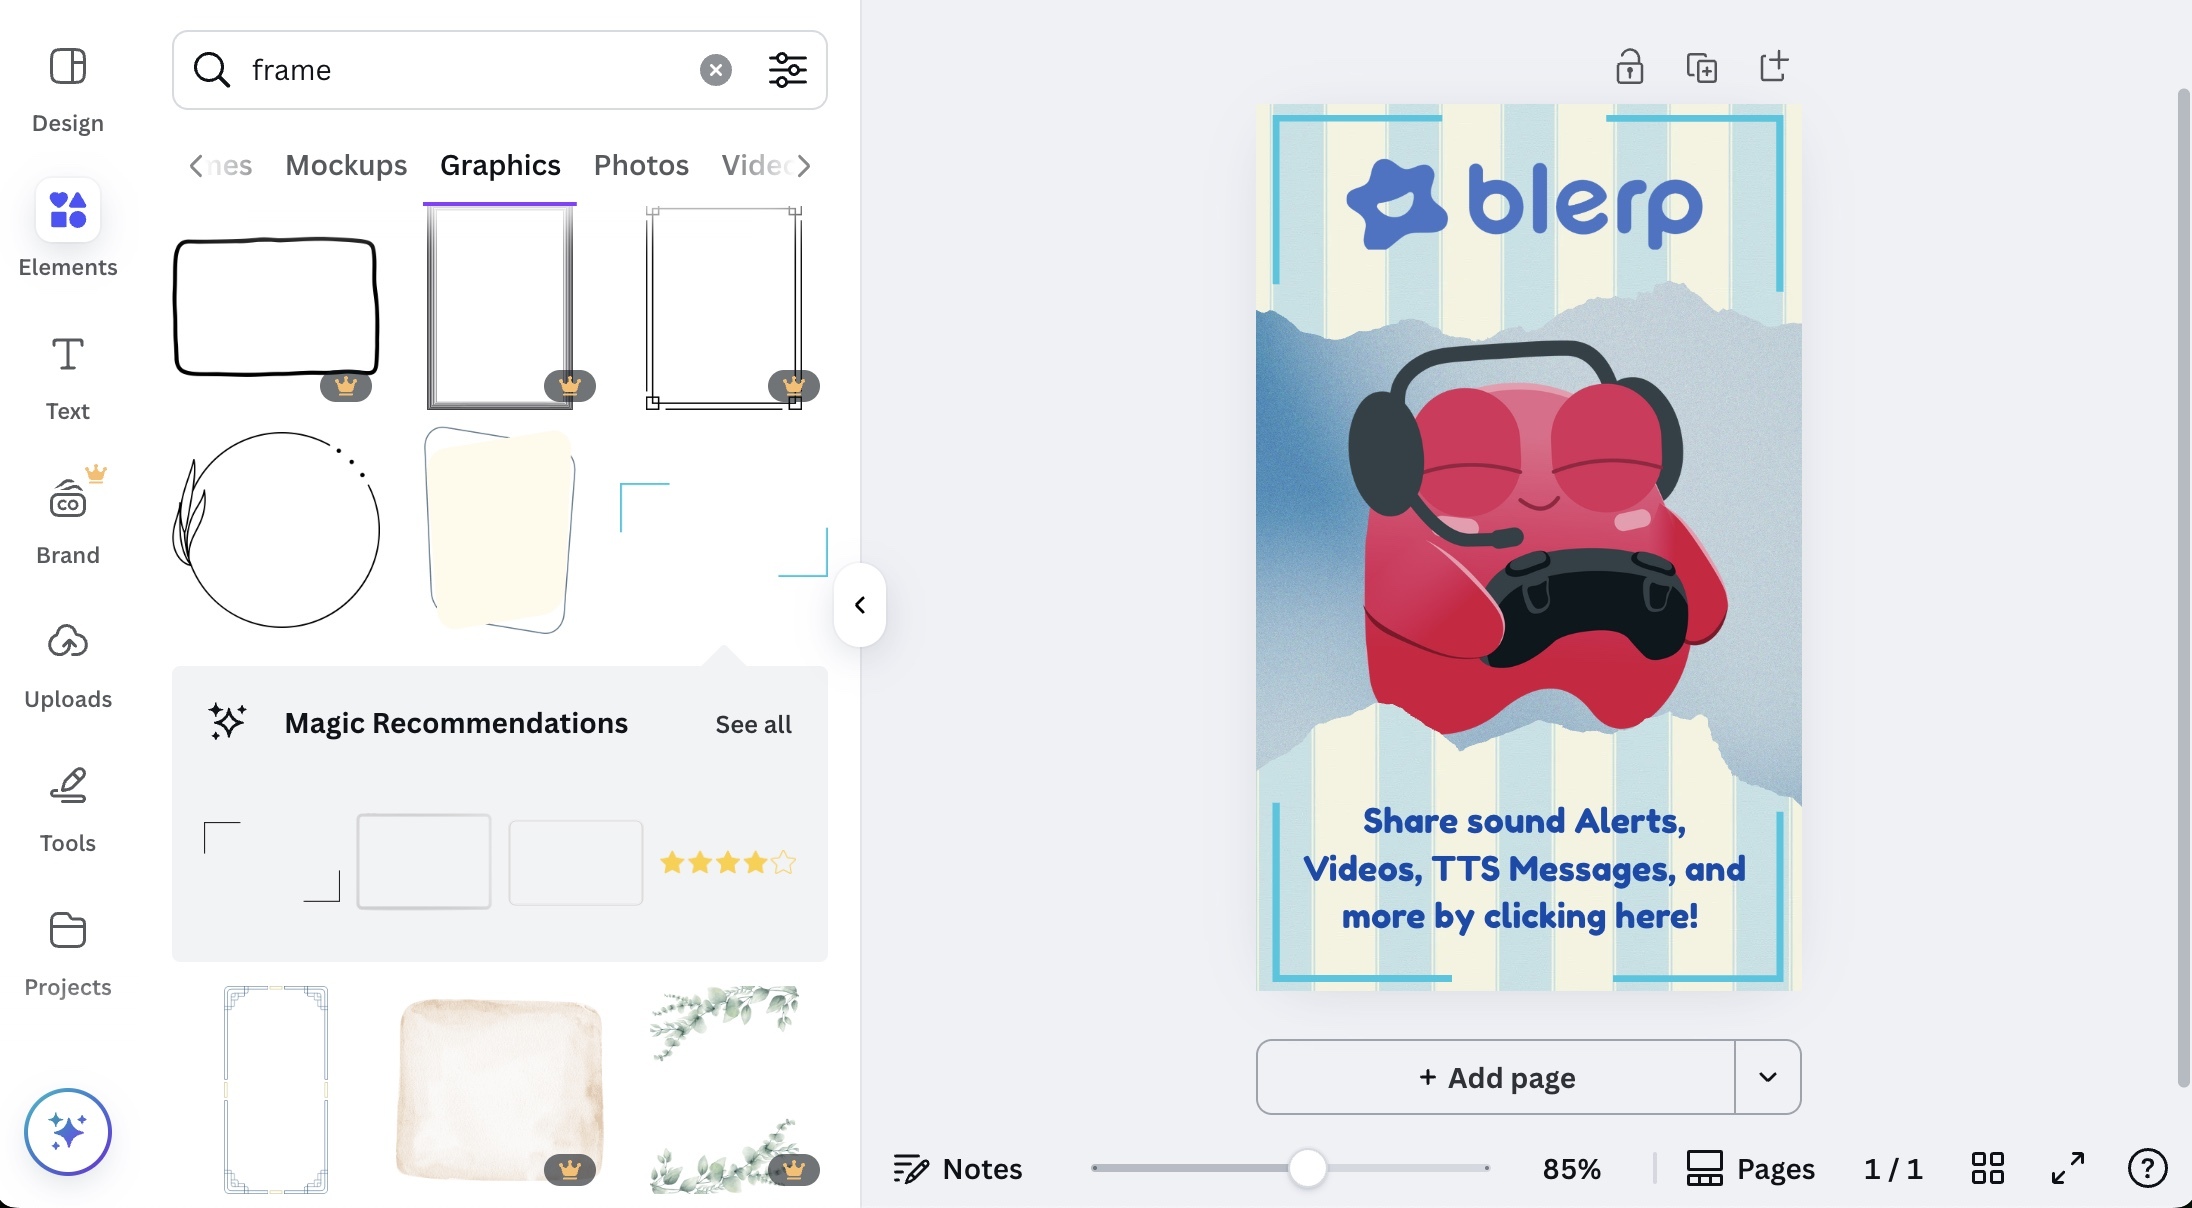
Step 4: Create Contrast with Accents
To give your panel some dimension and visual interest, add accents to the top and bottom. One way to do this is by using a blank frame in a shape you like. This adds contrast and helps highlight your main image or logo.
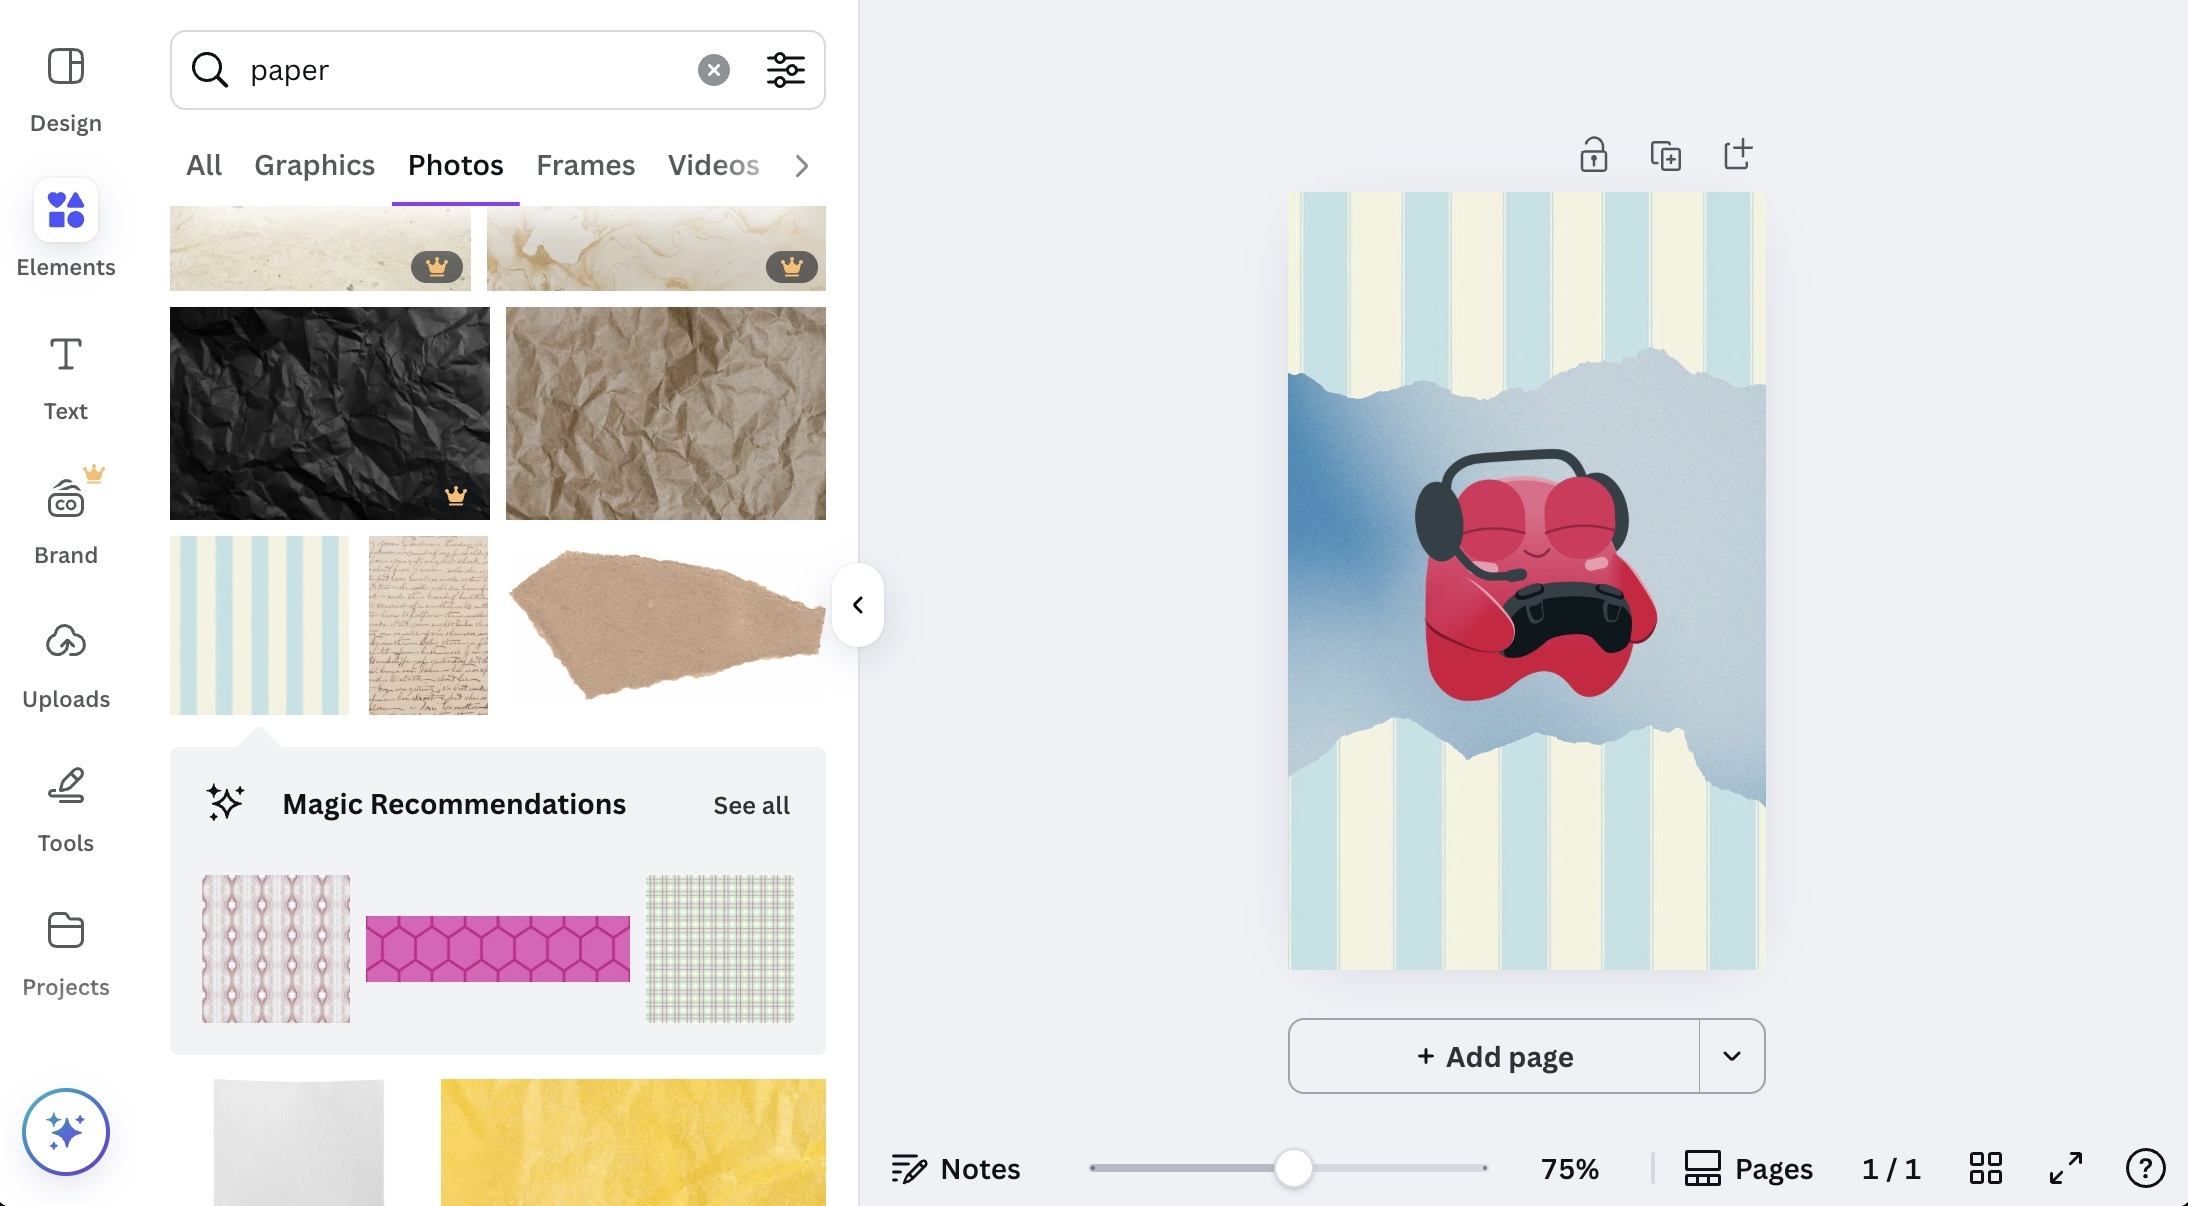
Step 5: Add Images to the Frames
Now, it’s time to pick images or designs that you can place inside the frames. Choose something that fits with your theme and adds a little more pop.
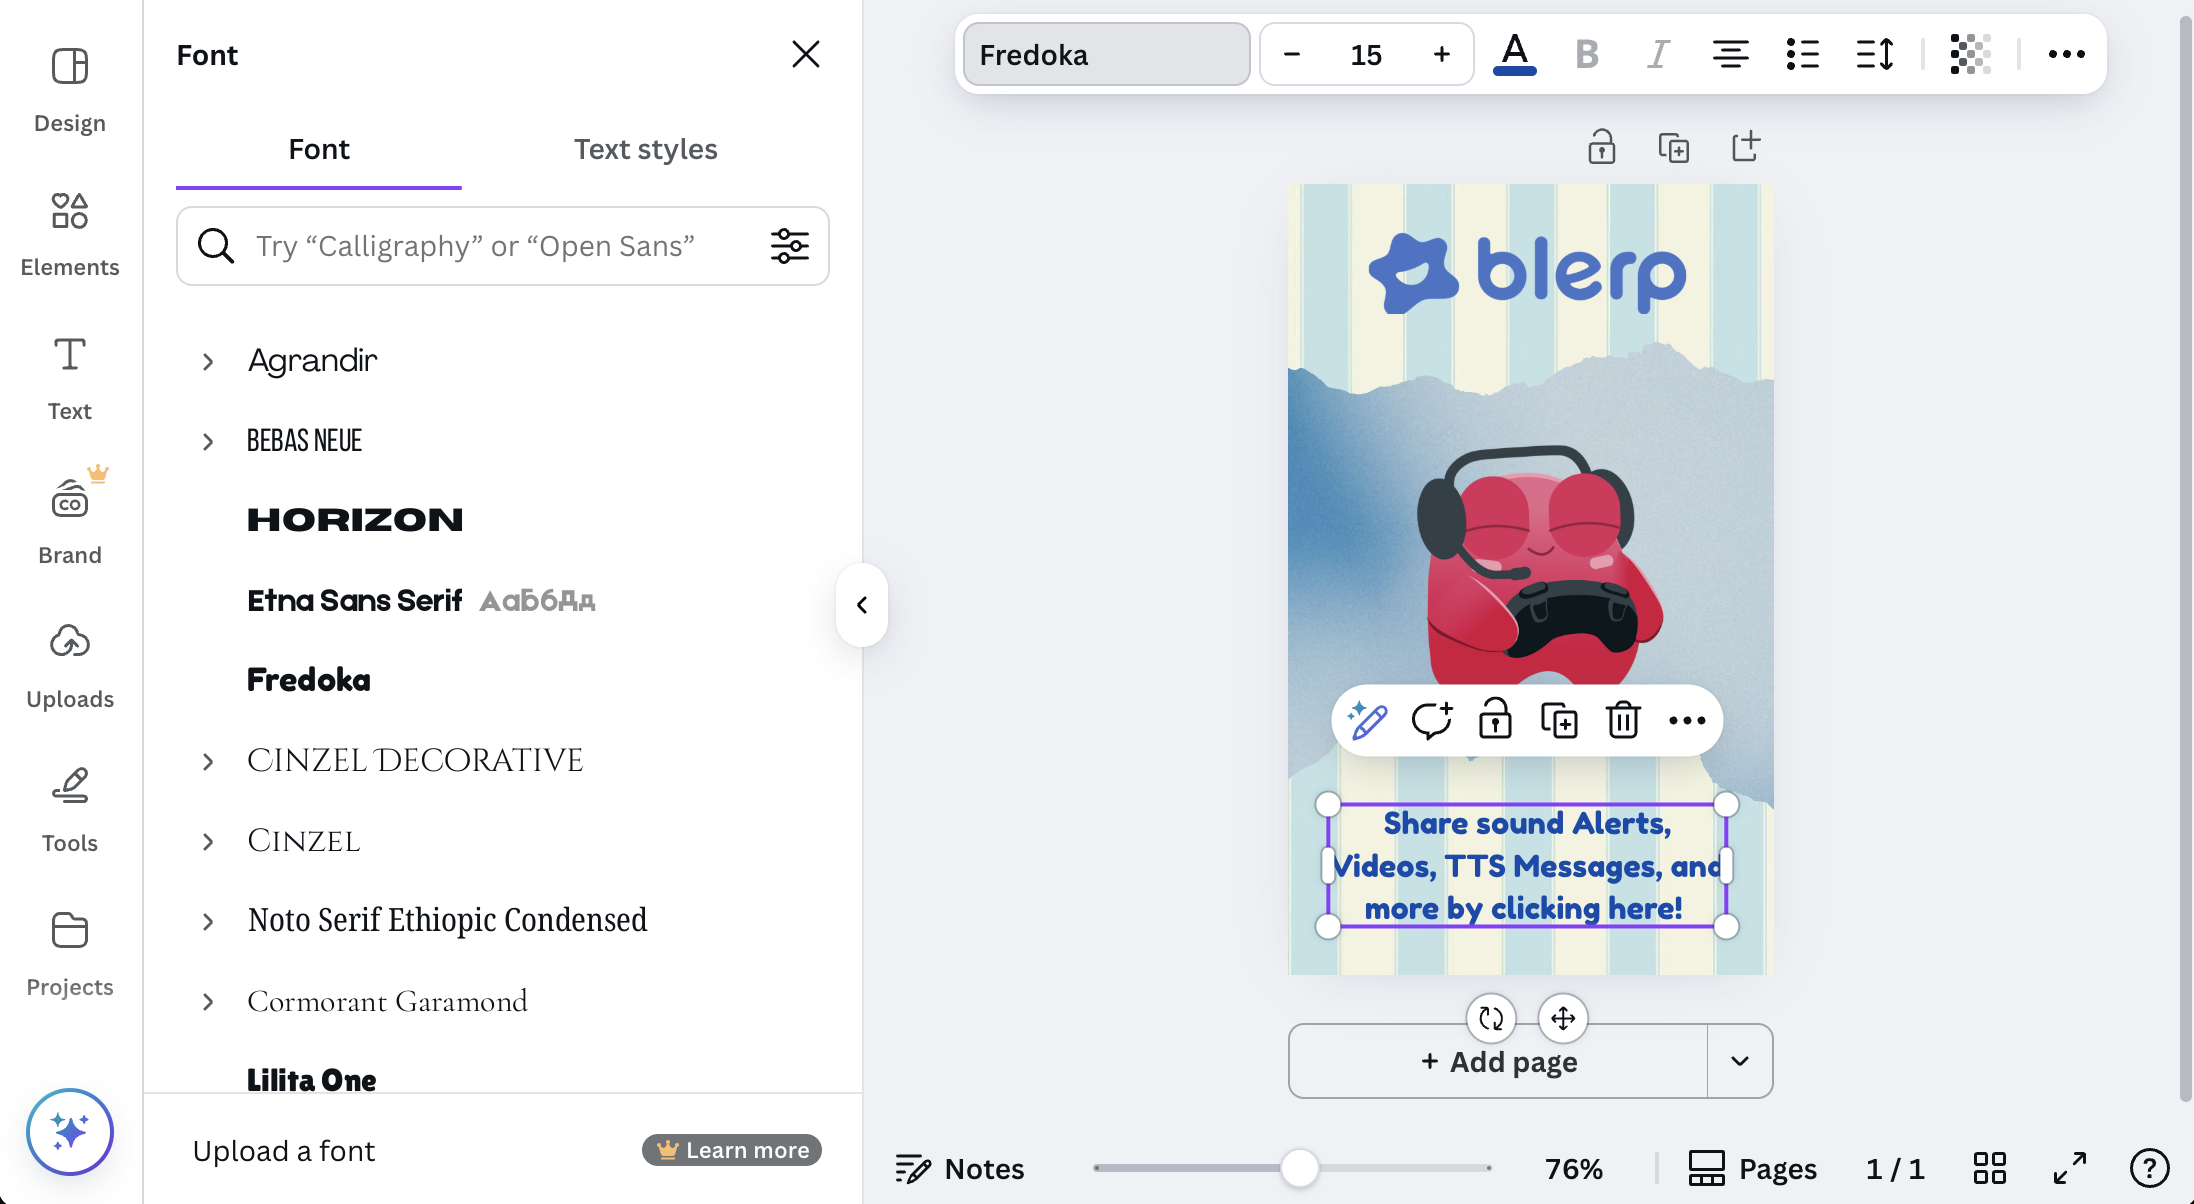
Step 6: Add the Blerp Logo
To make your panel clearly associated with Blerp, add the Blerp logo to the top of the panel. This will act as a header or title for the panel, making it instantly recognizable.
You can even adjust the color of the logo to match your channel's color scheme:
Step 7: Add a Description
Make sure to add a short description to your panel to inform your viewers about how they can interact with your stream using Blerp. You can customize the font, size, and color to match your branding. Keep it simple but informative!
Here’s an example description:
Step 8: Final Touches
Want to add a little extra flair? Try adding a frame or other accents to spice things up. Canva gives you plenty of design options to personalize your panel even further.
Step 9: Download Your Image
Once you’re happy with your design, download the finished image to your computer. Then, you can upload it directly to your Twitch channel. For a tutorial on how to add a hyperlink to your Twitch panel image, check out our guide here.